
Connect the number you intend to use, check Meta billing and run your first approved template before enabling automations.
Connect the sending number
Open WhatFlow Business API in Shopify Admin and go to Connections. Start the WhatsApp setup and choose the Meta business portfolio and WhatsApp account you intend to use. Read the options shown for your number before authorizing a connection, especially if that number already runs in the WhatsApp Business app or another provider. Your Meta account needs the appropriate access.
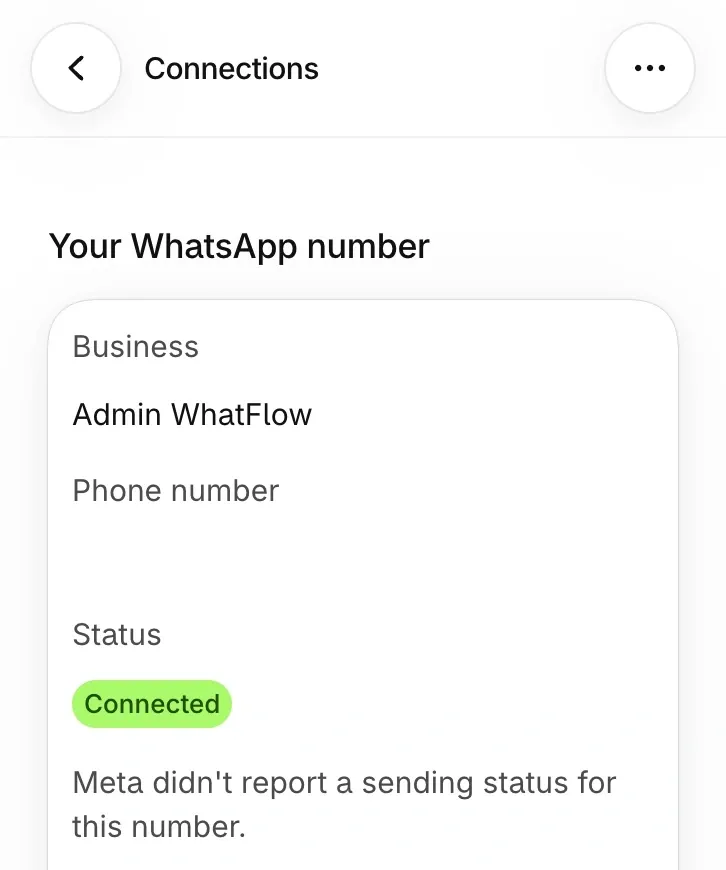
Back in Connections, compare the number and display name with what you expect customers to see. Check the connection status and resolve any account or payment issue there before testing a send. If you see a pending display name, verify which name customers see from a separate phone.
Review both parts of your bill
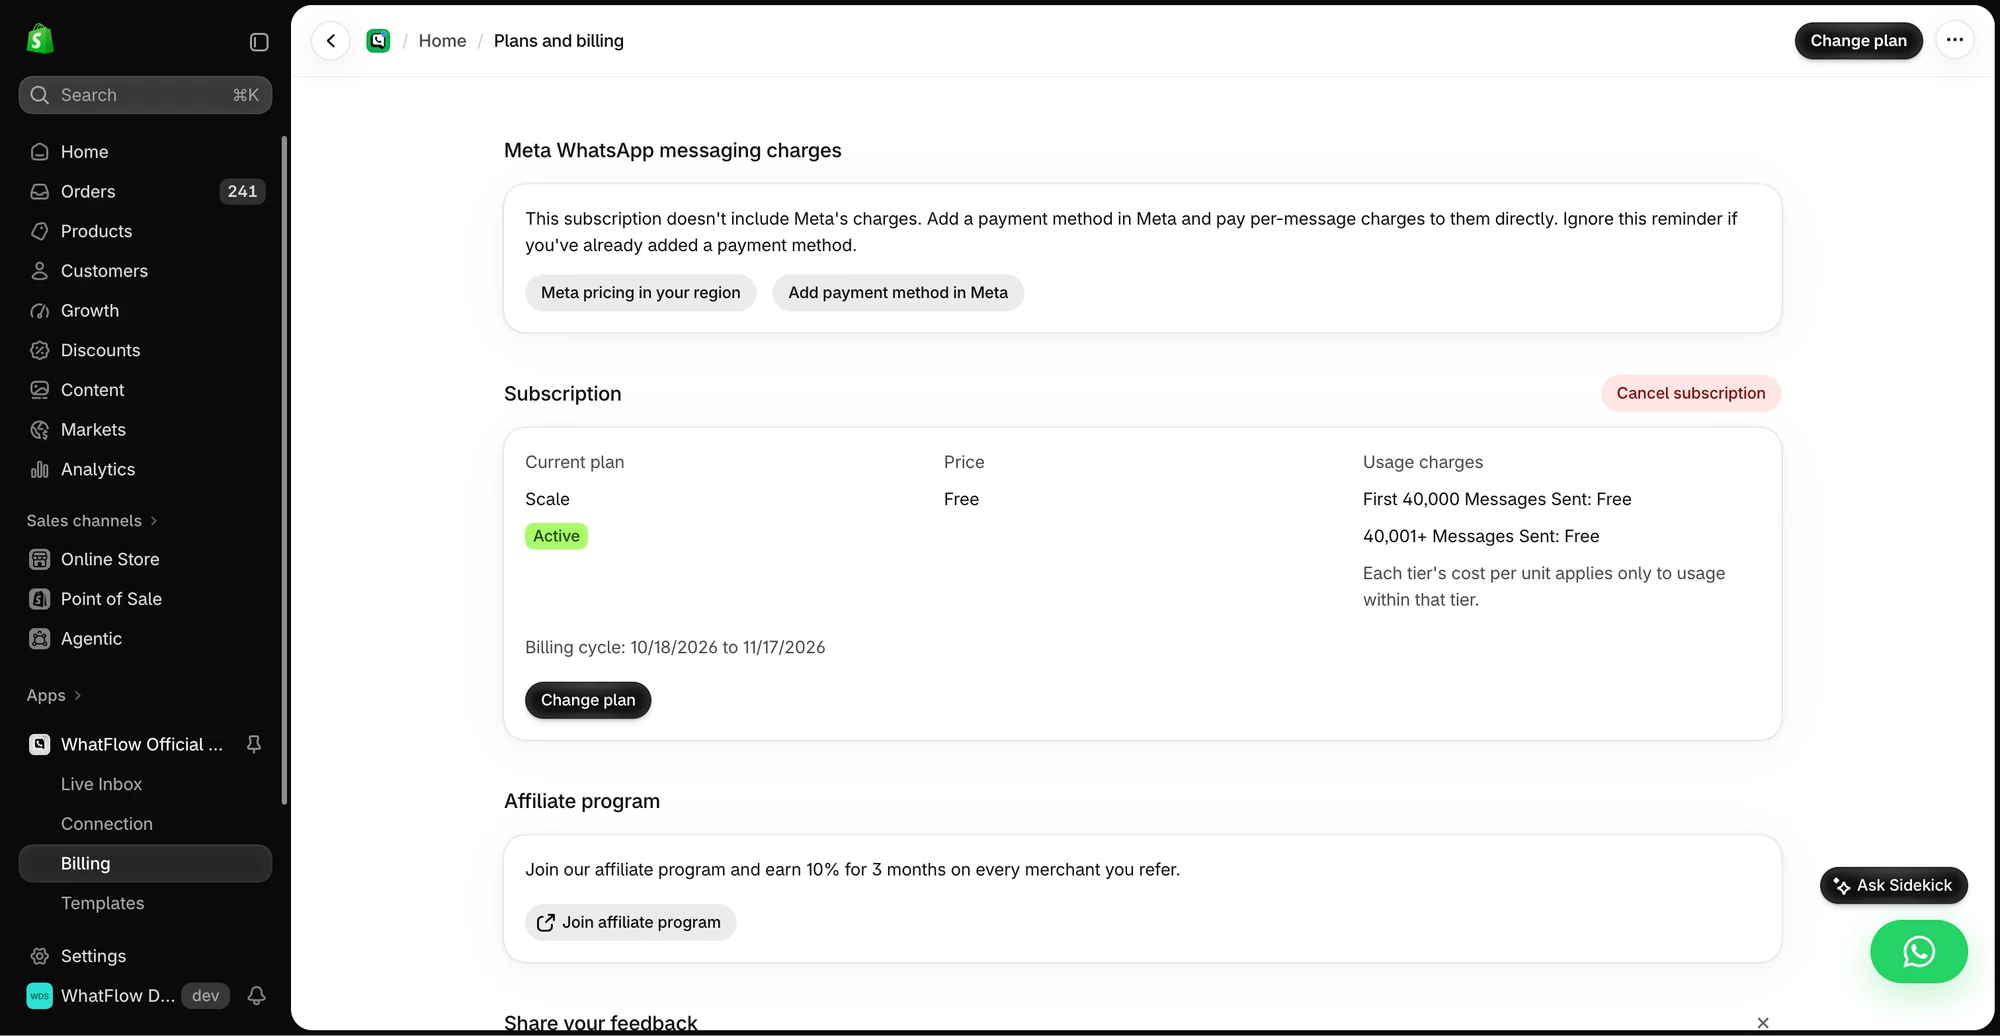
Open Billing and check your current app plan and send allowance. Keep the WhatFlow subscription and overage separate from Meta’s applicable messaging charges. Add or review the payment method where Meta directs you. A working app subscription does not settle a Meta payment issue.
Send one test message
Pick an approved template that matches the purpose of the test. Use a number you control and check the delivered sender name, values and button destination. If delivery fails, check connection status, Meta billing and the selected template before enabling any automation. See the current plans and market rates.